在南丫島保護流浪貓團體見到一隻單耳貓貓, 依然很可愛, 希望好快有人收養佢
|
||||
|
Pls see this vminfo.nl-guide-create-an-esx-4i-usb-boot-key.pdf Reference from http://www.vminfo.nl/?p=267 See this vminfonl-guide-create-an-esx-3i-usb-boot-key In short :
Reference from : http://www.yellow-bricks.com/2008/07/29/esxi-35-update-2-on-a-usb-memory-key/ To run dot1q vlan on the vmware guest under vmware server, you cannot do this with one NIC, you need at least two NICs. eth0 -> /dev/vmnet0 (for host OS’s management, uplink is vlan trunk) eth0.4 -> /dev/vmnet4 (for HOST management vlan) VM1 Guest OS VM2 Guest OS Pls note that we can’t accomplish this task with a single NIC since when vlans are configured on the host OS, eth0 does not forward tagged packets to /dev/vmnet0! All packets are UNtagged. If you want 802.1q tagged packets in the guest OS don’t config vlans on the NIC which the VM guest will use Virtual Switch Tagging (VST) External Switch Tagging (EST) interface GigabitEthernet0/23
switchport mode access 200
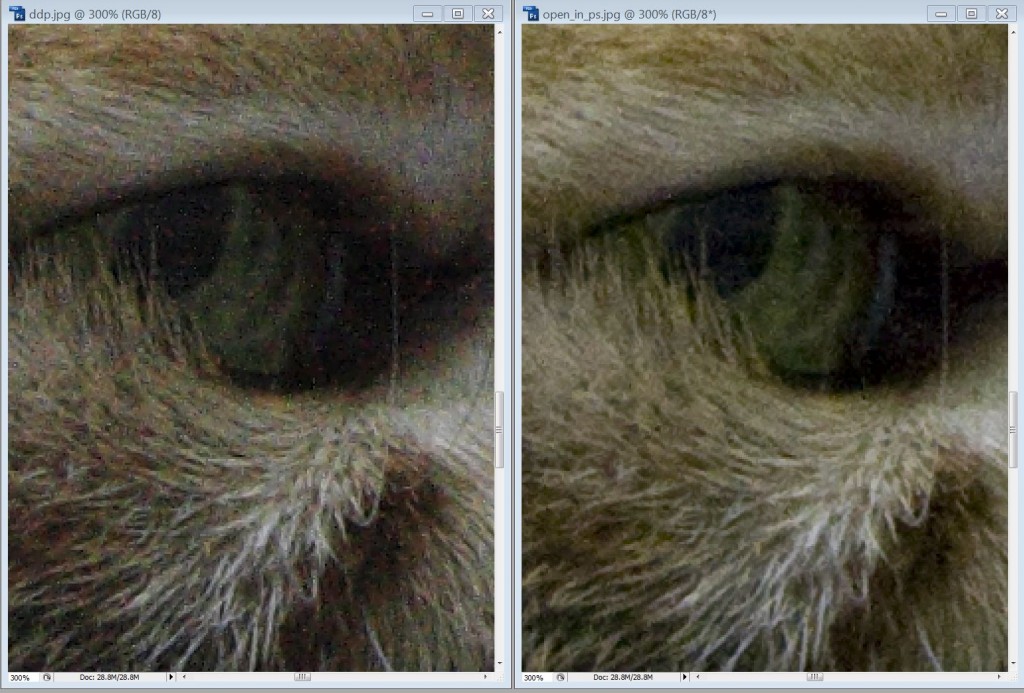
Given that most physical switch ports are already configured this way, this is a pretty typical switch configuration that is widely seen through many organizations. In this mode, ESX Server has a different vSwitch for each VLAN, and each vSwitch has its own individual uplink to a physical NIC (pNIC). Port groups can still be used to control traffic shaping and security policies, but they will not affect the VLAN operation. Virtual Guest Tagging (VGT) When to use VGT, EST or VST VLAN configurations However, there are cases where EST or VGT are more appropriate. For example, consider the organization whose servers plug into distribution layer switches. These distribution layer switches then connect to a core switch. If the connections between the core switch and the distribution switch are not already configured as VLAN trunks, i.e., are capable of carrying multiple VLANs simultaneously, then using VST is impossible. Each of the distribution switches only carries a single VLAN and is only capable of carrying a single VLAN. In this instance, EST is the only solution available. Similarly, if a particular VM (virtual machine) needs to be present on multiple VLANs simultaneously, then VGT — instead of multiple vNICs, each assigned to a different port group or VLAN –might make more sense. This kind of situation is less common, but it is a valid scenario nevertheless. Guest OS support for VLAN drivers is required; this seems to be most common in various UNIX and UNIX-like operating systems: Solaris, OpenBSD and certain Linux distributions, for example. One advantage that VGT has against EST is that both VGT and VST can be used at the same time. VST requires the creation VLAN-specific port groups, each configured with the appropriate VLAN ID. Because the 802.1Q specification only allows for a maximum VLAN ID of 4094, it’s possible to have both VST port groups (with VLAN IDs from 1 to 4094) as well as a VGT port group (with a VLAN ID of 4095) at the same time on the same vSwitch. http://searchvmware.techtarget.com/tip/0,289483,sid179_gci1283036,00.html http://mediadesigner.digitalmedianet.com/articles/viewarticle.jsp?id=27784 Moreover, I have found that Canon DPP’s raw to jpeg conversion is a bit worst than photoshop CS’s ACR OK, just rushed back home to try this hack on my Canon 400D. Bingo, it works both on my 2GB and 4GB CF Card!! Just posted the ISO 1600 and ISO3200 for comparison here.
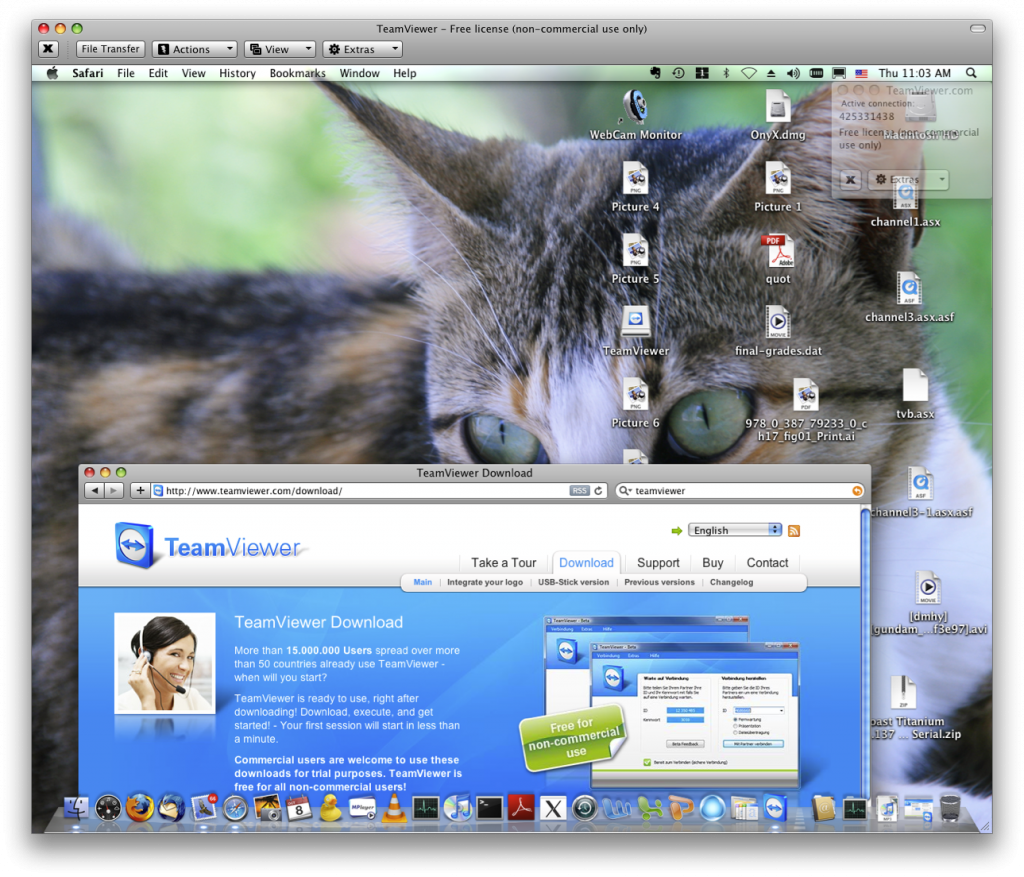
The noise level of ISO3200 is acceptable. Furthermore, I can also apply more advanced noise reduction filter on PC as well. For my own situation, it is totally usable. Moreover, the spot metering is also usable. It is totally welcome to have this metering added in my camera!! (It has evaluative, partial and centre weighted average metering only) Furthermore, if you use the latest AUTOEXEC.BIN, you can also get a new function of zone AF. Just press the change AF point button two times and waiting for a beep sound for confirmation. You can use the direct print button to change the AF zone afterwords similar to those in 7D. HOWTO: 1. use a fully charged battery. you need CF card reader and windows. on a mac, use windows under bootcamp/vmware fusion. 2. update to latest firmware (1.1.1) by downloading the latest firmware, copying it into the root of CF, and running “update firmware” in the setup menu. 3. empty your CF, download testfir.fir from http://chdk.setepontos.com/index.php/topic,1618.0.html and copy it into the root of your CF. 4. insert CF, and then run firmware update again using testfir.fir the screen will go blank. wait 5 minutes, turn off, take battery out and back in. 5. insert CF into card reader and perform a quick format. 6. IF Card <= 4GB (fat12/fat16) download cardtricks: http://chdk.wikia.com/wiki/Cardtricks run it, choose CF drive, tick “cf boot sector” and then click “make bootable.” ELSE IF card > 4GB (fat32) use HxD : http://mh-nexus.de/en/downloads.php?product=HxD run as administrator, goto extras -> options -> security -> uncheck “open disk as readonly by default”, then open CF card using the 5th button (cd, floppy and HDD icon) in the toolbar, then carefully write “EOS_DEVELOP” at 0x47 and “BOOTDISK” at 0x5C. save and exit. 7. download autoexec.bin from here: http://depositfiles.com/files/jbygql51l copy it into CF. 8. safely remove CF, insert it into camera, if the blue print led of the camera briefly lights up when the camera is turned on, the hack is successfully loaded. 9. to use additional ISO values, choose one of the 100,200,400,800,1600, and then push the print button to access more ISOs. (80/100/125/160/200/250/320/400/500/640/800/1000/1250/ 1600/2000/2500/3200) ISO levels 16/32/40/50 can also be enabled if you go to menu and turn “shoot without CF” ON, but not sure if they really work (i see no difference.) 10. to use spot metering, go to metering selection screen, then push the print button. to go back to “evaluative metering”, you have to select other metering modes first, and then back to “evaluative metering”, because the camera thinks you are at “evaluative” although you are at “spot metering”. 11. to view shutter actuation count, which was only viewable by canon themselves, go to menu, push print button, push menu button again twice, (“factory menu” appears), enter factory menu, then push print button to enter “debug mode”. after a beep, go back and set spot metering. and you will see the camera writing something to the CF (CF light). eject CF, insert it into card reader, you will see a file called STDOUT.txt, search the textfile for “Release”. there you see a number and that is the shutter count. thanks very much thaibv and Foldesa of CHDK for this wonderful hack. @raingrove: Let me make some comments. 4. insert CF, and then run firmware update again using testfir.fir the screen will go blank. wait 5 minutes, turn off, take battery out and back in. The testfir.fir make changes to 400d’s boot flags immediately, so count down from 10 after testfir.fir blank your display screen. No need to wait 5 minutes. 9. …… I think iso 16/32/40/50 are same as iso 160/132/140/150. Please test and post your comments so i can decide to keep them available or not 10. …. to go back to “evaluative metering”, you have to select other metering modes first, and then back to “evaluative metering”, because the camera thinks you are at “evaluative” although you are at “spot metering”. 11. to view shutter actuation count, which was only viewable by canon themselves, go to menu, push print button, push menu button again twice, (“factory menu” appears), enter factory menu, then push print button to enter “debug mode”. after a beep, go back and set spot metering. and you will see the camera writing something to the CF (CF light). eject CF, insert it into card reader, you will see a file called STDOUT.txt, search the textfile for “Release”. there you see a number and that is the shutter count. ——–FYI————- http://chdk.setepontos.com/index.php/topic,3290.135.html http://chdk.setepontos.com/index.php?PHPSESSID=76d9b6d98967f3976b41b5b86ab62d7a&topic=3290.0 http://www.teamviewer.com/download/index.aspx |
||||


