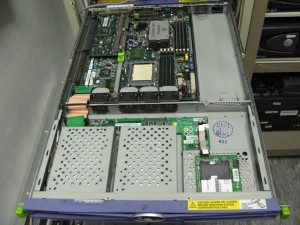
已經冇咗保養, 要自己折出來整.
|
||||
|
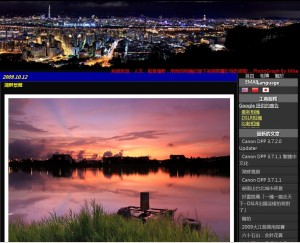
I like this website : http://www.mike.idv.tw/index.php?tag=%E6%99%A8%E6%98%8F%E6%94%9D%E5%BD%B1 The photos are great. For whatever PCs I owned, the 1st customization I will do is to change the DPI scaling (except Mac which don’t have this option, I am still finding apps which can do this). For 1920×1200, I use 144 DPI and 139 DPI for 1600×1200. Of this, there’s a XP Style DPI Scaling checkbox which I must check because : 1. Checking the option causes non-DPI scaling aware applications to be scaled similar to the way they would have been in XP 2. Un check this option will make some non-DPI aware applications slightly blurry due to scaling effects of the composer References : http://www.mathies.com/weblog/?p=908 PS: Under the 144 DPI, icons in firefox will be become a mess (very large), solution :
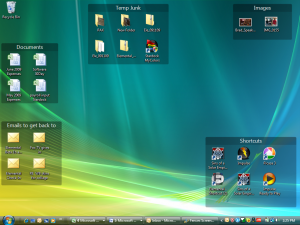
In the search box type, eg: size: > 50 MB Refer to http://windows.microsoft.com/en-US/windows-vista/Tips-for-finding-files This is just served as a working notes for me. 1. Download VMware ESXi 4.0 Installable Edition from here: 2. Put the ESXi 4 Installable Edition in a USB thumbdrive, instructions can be gotten from http://staff.ie.cuhk.edu.hk/~sfluk/wordpress/?p=830 . Or after you get the dd image, you can just use the linux dd to put it into your thumbdrive. 3. Boot the ESXi 4 using the USB thumbdrive in the PE machine. 4. Download the Dell OpenManage Offline Bundle and VIB for ESXi 4.0 from here. (get the VIB for ESXi 4.0 update 1 and ESXi 4.1 here) 5. Download and install vSphere CLI from http://www.vmware.com/support/developer/vcli/ 6. Navigate to the folder where you have installed the vSphere CLI utilities to execute the command : vihostupdate.pl –server <IP address of ESXi 4 host> -i -b <path to Dell OpenManage Bundle>. You will need to wait 5 to 10 minutes for the command to complete. There’s no progress echo returned during the time. 7. Enable the CIM OEM providers as below :
8. To check the sucessfull installation of the VIB. Login the ESXi console, Press Alt-F1 and type unsupported to login the command prompt, run “/usr/lib/ext/dell/dataeng status” to verify the Dell OpenManage service is running or not. (edit /etc/inetd.conf to enable ssh for remote console login). You can also run [If you are using Vista/win7, UAC filtering for local accounts must be disabled by creating the following DWORD registry entry and setting its value to 1: [HKLM\SOFTWARE\Microsoft\Windows\CurrentVersion\Policies\System] LocalAccountTokenFilterPolicy] otherwise, you will get ” Access is denied” when running “winrm create”]see http://msdn.microsoft.com/en-us/library/aa384423.aspx Again, Later I found the win7(I upgraded my Vista!!) can’t install the OSA as it said that it need winrm 1.1 and win7 is running winrm 2.0, finally I install winrm1.1 ( WindowsXP-KB936059-x86-ENU) on another XP and finish the rest 9. Install OMSA 6.1 on my Vista machine, instructions getting from here. Brief steps as below :
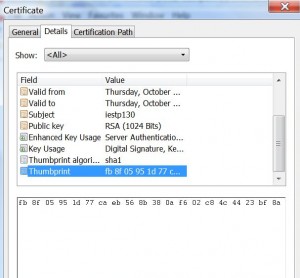
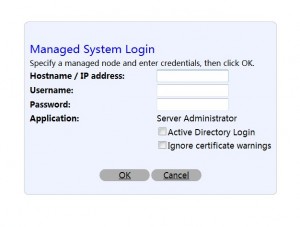
More reference : ESXi_VMWare_OM, dell_esxi_om Updated procedures for Open Manage 7.1/Esxi 5.0 and Windows 7 as OMSA web server 1. To enable winrm on Windows 7 : – Add a password to your administrator accunt if it does not have one. – Run cmd as an administrator and issue “reg add HKLM\SOFTWARE\Microsoft\Windows\CurrentVersion\Policies\System /v LocalAccountTokenFilterPolicy /t REG_DWORD /d 1 /f” – Reboot – “winrm quickconfig” – “winrm configsddl default” – Get a pkcs12 certificate for your windows 7 – import it using mmc console (run mmc, add certificate snap-in), make sure you move your own CA certificates to appropate store winrm create winrm/config/Listener?Address=*+Transport=HTTPS @{Hostname=”<host_name>”;CertificateThumbprint=”6e132c546767bf16a8acf4fe0e713d5b2da43013″} – Make sure your type the above command again in a administrator cmd without copy & paste – run the Open Manage Server Administrator Web Console installer 2. install the downloaded Open Manage 7.1 VIB on esxi 5.0 – esxcli software vib install –deport=<your vib> – |
||||


