See this http://www.akeric.com/blog/?p=879 for reference but the info is somewhat outdated.
#1. Install Android SDK. There’s some path problem for the 64 bits java with the SDK. I install 32 bits java instead. You can also install Eclipse and ADT if you have time.
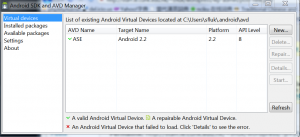
#2. Create the Android Virtual Device using the installed SDK Manager
#3. Install the Android Scripting Environment (ASE), now called SL4A (Scripting Layer for Android)
- Get sl4a_r*.apk and python_for_andorid_r*.apk from
 http://code.google.com/p/android-scripting/downloads/list
 - Use adb to install the two apk
C:\Program Files (x86)\Android\android-sdk-windows\platform-tools>adb install sl4a_r*.apk
#4. Configure the SL4A
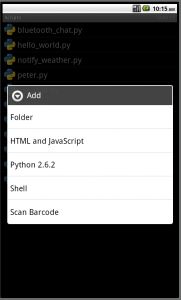
Launch the SL4A and add the installed Python to it
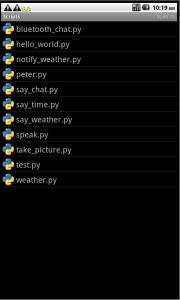
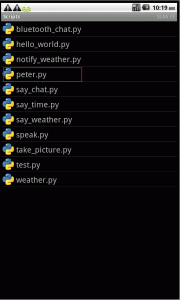
You will see some sample scripts installed as below
#5. Upload a prepared script to the SL4A
- Run “adb shell” to get an interactive shell to find the location of the python scripts placed. The path found is /mnt/sdcard/sl4a/scripts
- Use “adb push” to put your script to the path above. eg: adb push peter.py /mnt/sdcard/sl4a/scripts
#6. Conclusion : I have to say, the interactive performance of the emulator is really slow. This is making the experience of interactive debugging and editing of the script rather disgusting. It is OK to test and run a simple script with a few lines. For complicated scripts, may be it is better to debug and run on the Android Pad with a physical keyboard attached??
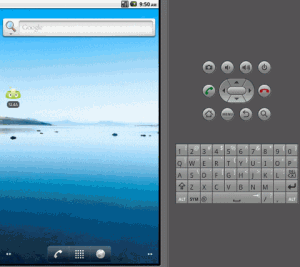
PS: Use Ctrl-F11 to rotate the screen of the emulator




Leave a Reply